How to Add Deals Stages
Adding stages to the deals page in your system is essential for tracking the progress of your deals through various phases.
Here’s a step-by-step guide on how to add stages to the deals page.
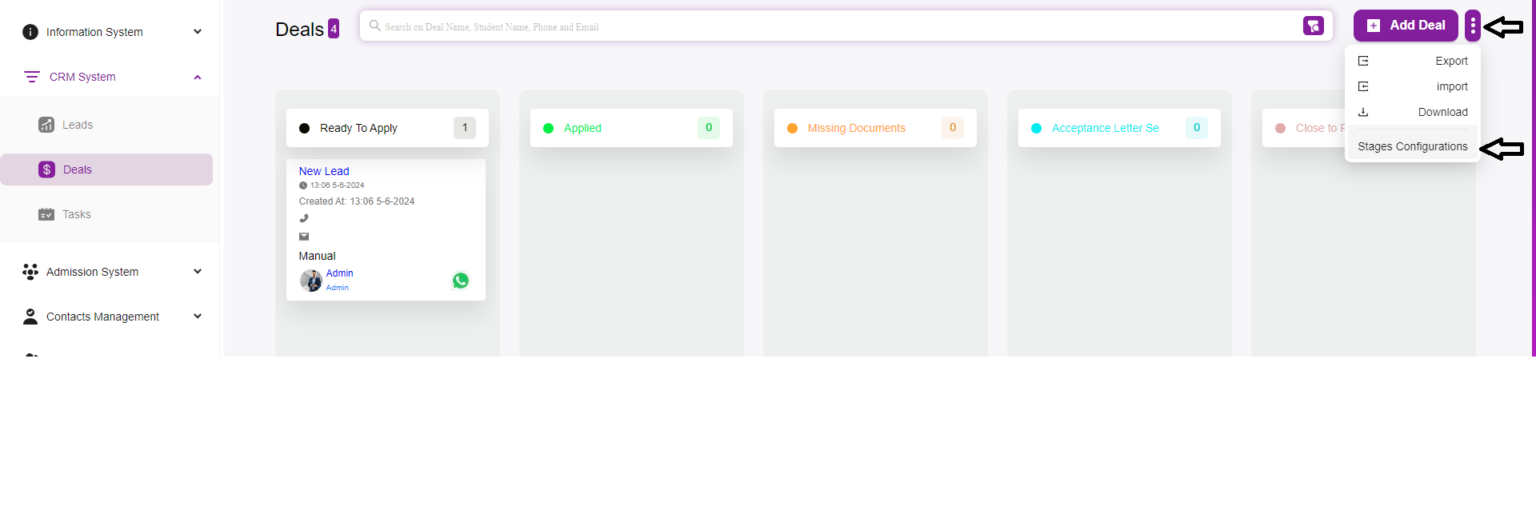
Step 1: Navigate to the Deals Stages Page
- Login to your CRM system.
- Go to the CRM System section in the sidebar.
- Click on Deals to open the Deals page.
Step 2: Open the Add Stage Modal
- On the Deal Stages page, click the Stage Configurations button located at the top right corner.
- This will open the Add Stage modal window.
Step 3: Fill in Stage Details
In the Add Stage modal, you will see the following fields:
- Name: Enter the name of the new stage (e.g., Ready to Apply, Applied, Missing Documents).
- Color: Select a color to visually distinguish this stage.
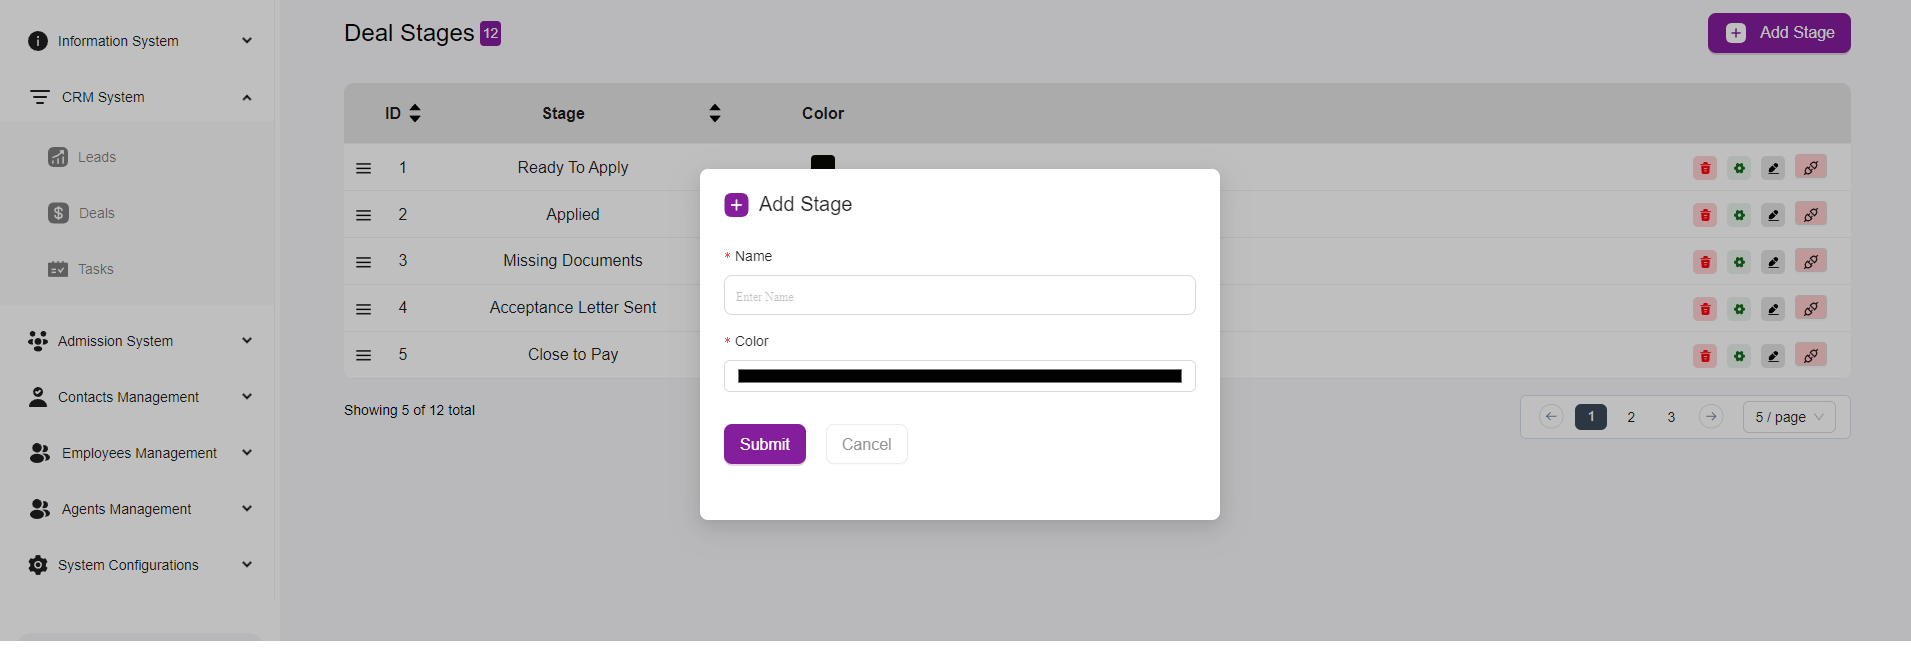
Step 4: Submit the New Stage
- After entering the necessary details, click the Submit button to save the new stage.
- To cancel, click Cancel to close the modal without saving.
Step 5: Verify the New Stage
- The newly added stage should now appear in the list of deal stages.
- Verify that the stage is correctly listed with its name and color.
Additional Management Options
- Edit Stage: Click the edit icon next to a stage to update its details.
- Delete Stage: Click the delete icon to remove a stage no longer needed.
- Reorder Stages: Some CRM systems allow drag-and-drop to reorder stages according to your workflow.